您好,欢迎访问V8娱乐首页丨中国有限公司官网网站
OA系统入口
首页
关于国控
集团简介
董事长致辞
组织架构
大事记
联系我们
新闻中心
公司要闻
部门动态
风采之窗
通知公告
党建工作
党建活动
精神文明
V8娱乐首页丨中国有限公司官网
规章制度
党务公开
学习园地
工会之家
纪检监察
党纪法规
廉政教育
监督工作
学习园地
人力资源
员工风采
招聘信息
公司运营
投资项目
融资项目
每周经济要闻
招标公告
政策法规
民商法类
经济法类
社会法类
国资管理类
快乐学法
V8娱乐首页丨中国有限公司官网
企业标识
核心价值观
公司愿景
公司要闻
MORE+
V8娱乐首页丨中国有限公司官网承德市全民健身中心
2023年11月28日,V8娱乐首页丨中国有限公司官网在承德市高新区开发西区举办了承德市全民健身中心项目封顶仪式。
[详情]
V8娱乐首页丨中国有限公司官网承德市全民健身中心项
2023-11-28
柴宝良在全市主题教育工作推进会议上强调 统一思想认
2023-11-18
王亚军率队赴成都开展招商考察(转载:承德市人民政府
2023-11-15
柴宝良在全市宣传思想文化工作会议上强调 深入学习贯
2023-11-14
V8娱乐首页丨中国有限公司官网党委副书记、总经理孙长君赴围场县牌楼乡于家
2023-11-08
V8娱乐首页丨中国有限公司官网党委副书记、总经理孙长君赴围场县考察风电项
2023-11-08
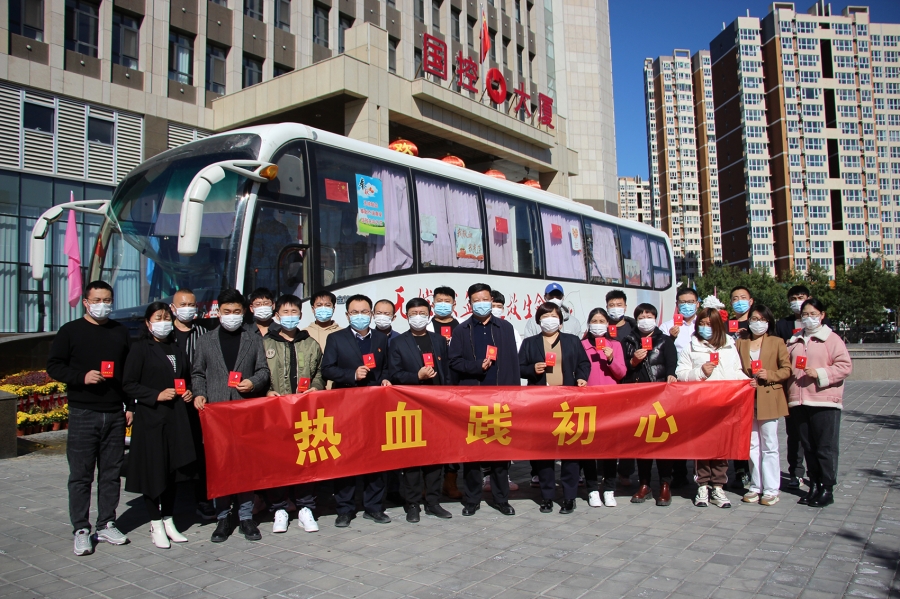
V8娱乐首页丨中国有限公司官网工会开展无偿献血志愿
2023-10-18
公司运营
MORE+
承德市国瑞置业有限公司关于承德市民政局殡仪馆排污...
V8娱乐首页丨中国有限公司官网 关于罗汉山下文创...
V8娱乐首页丨中国有限公司官网关于承德市新建公墓...
承德市智能停车场开发管理有限公司 关于景区停车场...
两宫门地下停车场消防设施维修项目中标人公示...
两宫门地下停车场消防设施维修项目中标候选人公示...
两宫门地下停车场消防设施维修项目自行组织比选邀请...
承德市国瑞置业有限公司 关于承德市殡仪馆物业服务...
承德市国瑞置业有限公司关于承德市殡仪馆物业服务、...
V8娱乐首页丨中国有限公司官网关于承德市全民健身...
政策法规
MORE+
国有资产评估违法行为处罚办法
企业国有资产产权登记管理办法实施细则...
企业国有资产监督管理暂行条例
中华人民共和国拍卖法(2015年修正)...
国土资源部 财政部 中国人民银行 中国银行业监督管...
国务院办公厅关于完善建设用地使用权转让、出租、抵...
关于企业国有资产交易流转有关事项的通知(全文)...
中华人民共和国劳动法
最高人民法院关于适用《中华人民共和国民法典》有关...
最高人民法院关于审理企业破产案件若干问题的规定...
专题聚焦
员工风采
MORE+
外部链接
MORE+
AG官网入口登录网站(中国官网)科技有限公司
|
米乐网址(中国)科技有限公司
|
亚娱体育平台丨集团有限公司
|
开云线上登录·(中国)官方网站
|
AG官网入口登录网站(中国官网)科技有限公司
|
亚盈app(中国)官方在线登录
|
AG官网入口网站网址(中国)科技有限公司
|
港澳宝典(中国)官方网站
|
环亚体育登录(中国)科技有限公司
|